How to Start Editing Your App

Step 1 |

Step 1 |

Select 'Login' at the top of the Home page.
|
Step 2 |
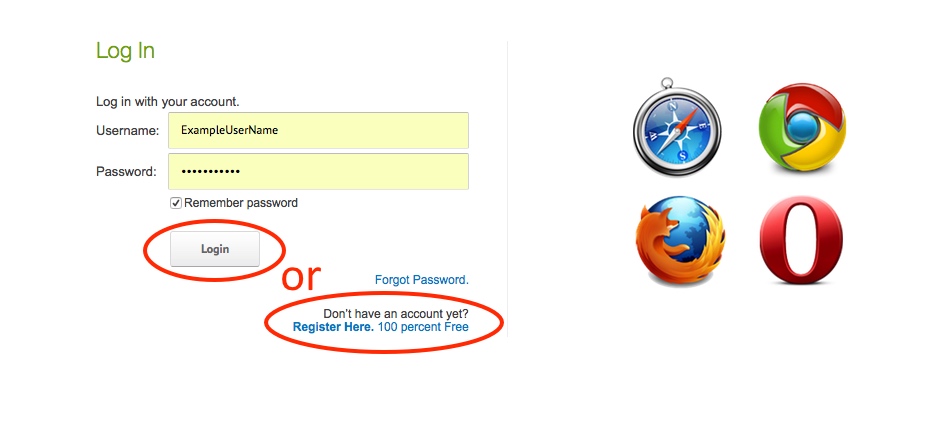
Login to your account using your Username and Password, or register a new account (by clicking 'Register Here' depicted above).
|
Step 3 |
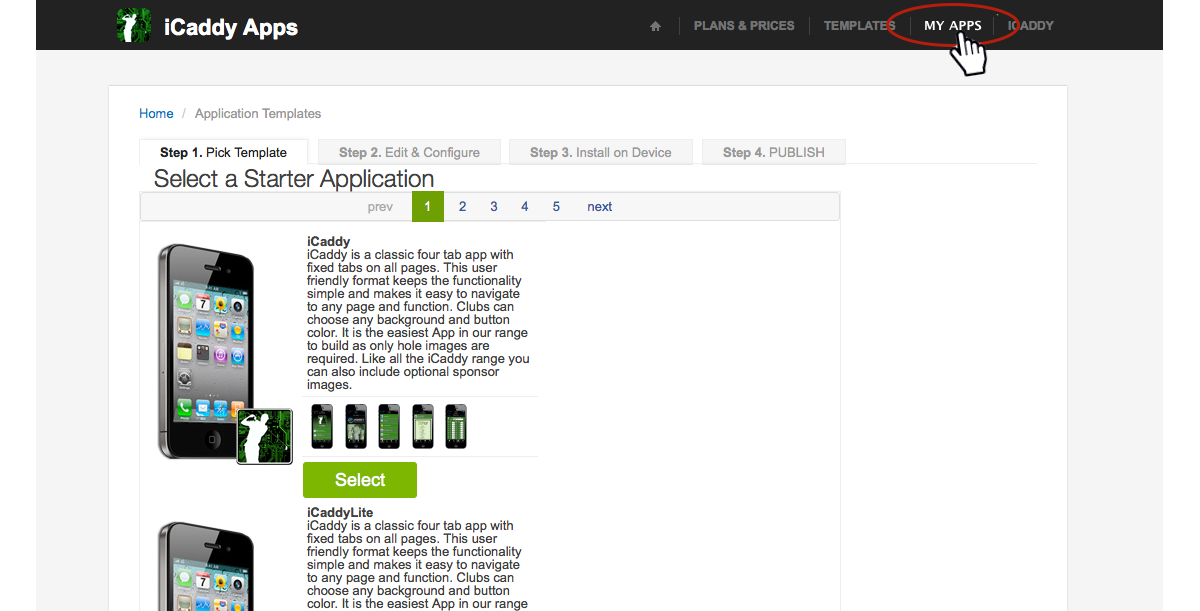
Once Logged-In, select 'My Apps'
|
Step 4 |
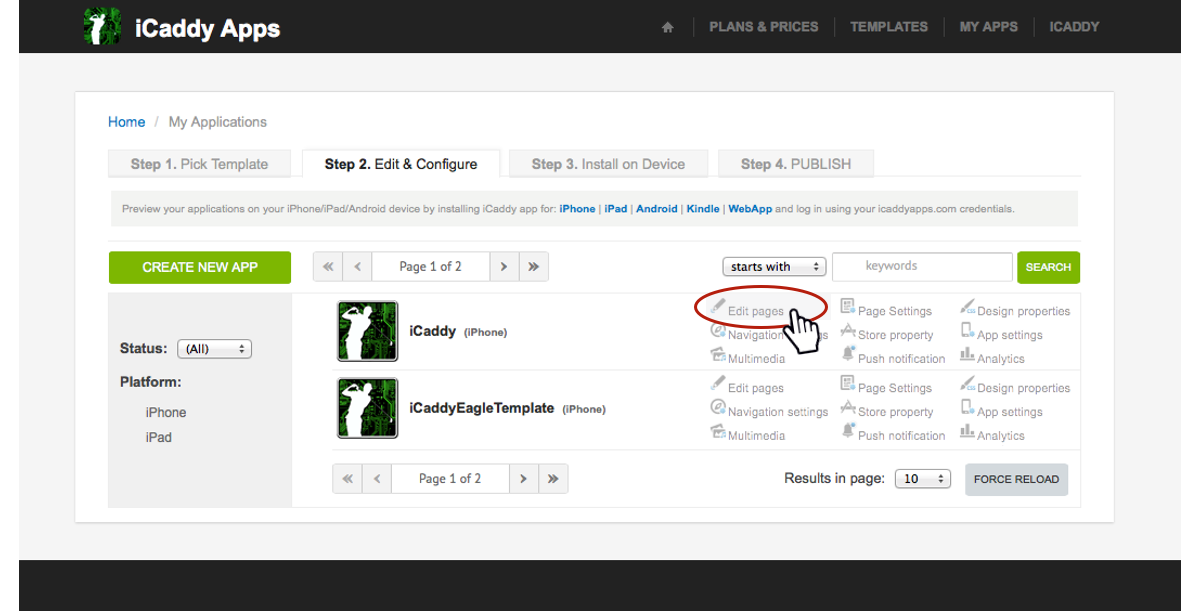
In 'My Applications', select 'Edit Pages' for the application you wish to edit.
Note: Clicking on 'Edit Pages' shown above is a short-cut. You can get to the same location by clicking on an App listed in the 'My Applications' list (depicted above) and then clicking on 'Edit Pages' once the next screen opens. The same short-cut applies for all the items listed on the right of each App (e.g. 'Page Settings', 'Design Properties' etc.). These same items are listed down the right hand side on each App's Dashboard. |
Step 5 |
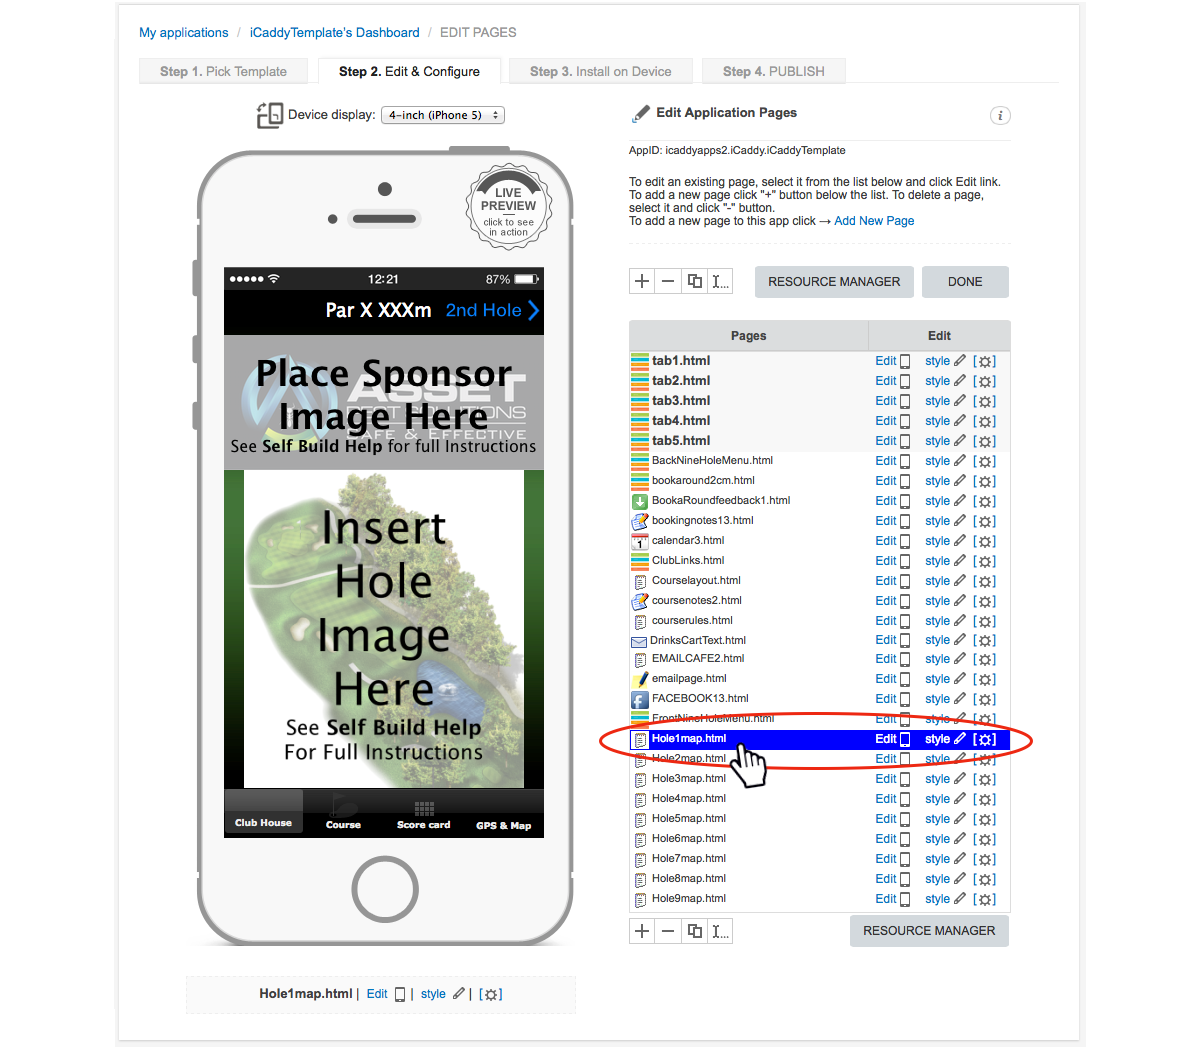
In 'EDIT PAGES', select the page you wish to edit and click the 'Edit' link.
|
Step 6 |
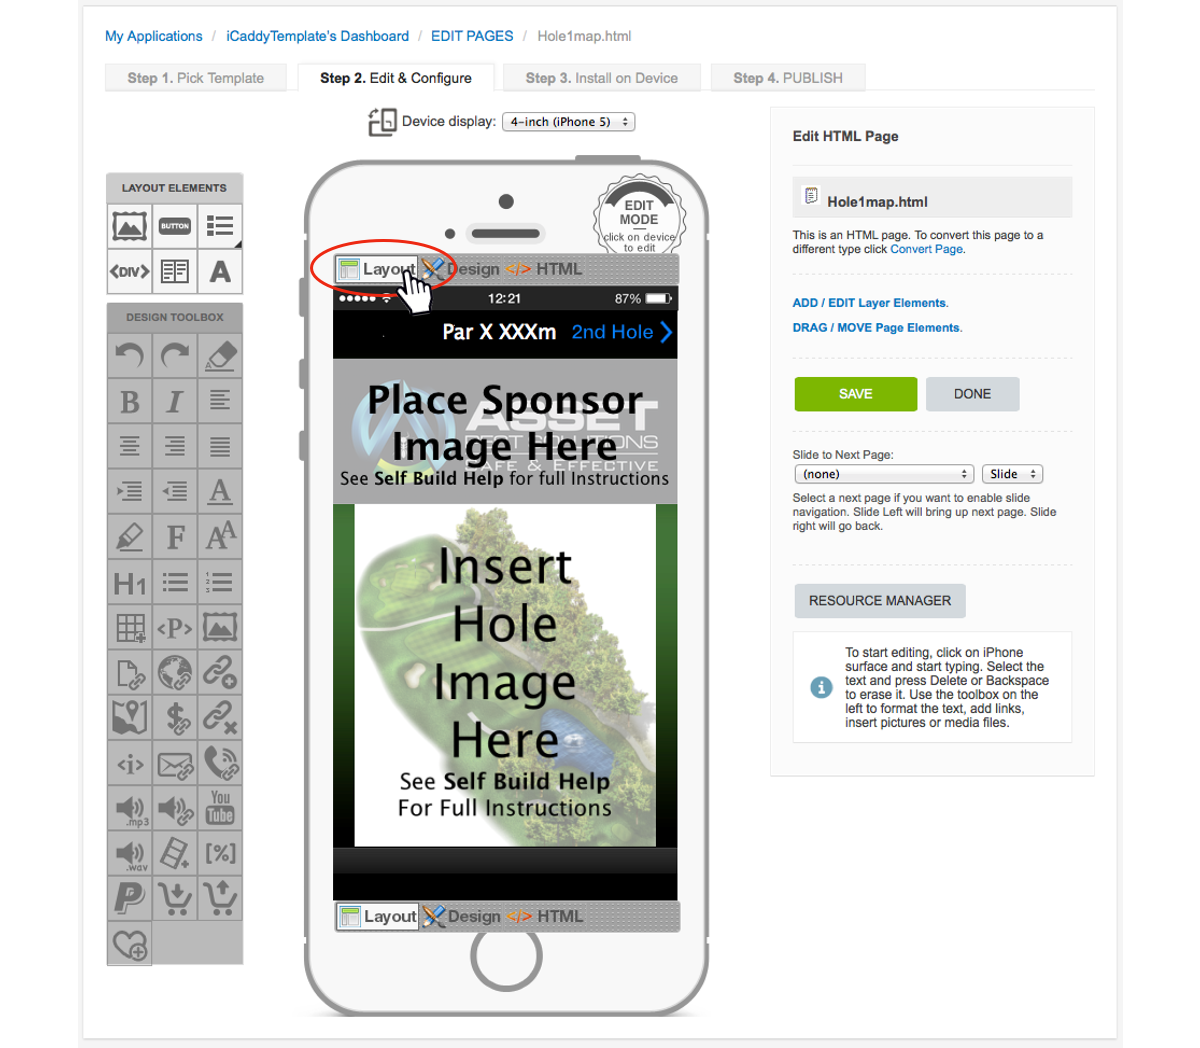
In the chosen page, select 'Layout' (at the top left of the Handset Display) to edit sponsor details and hole map images etc. For full instructions on how to edit sponsor and hole map imagery, go to How to Edit Sponsors Images and How to Edit Hole Map Images.
|
Step 7 |
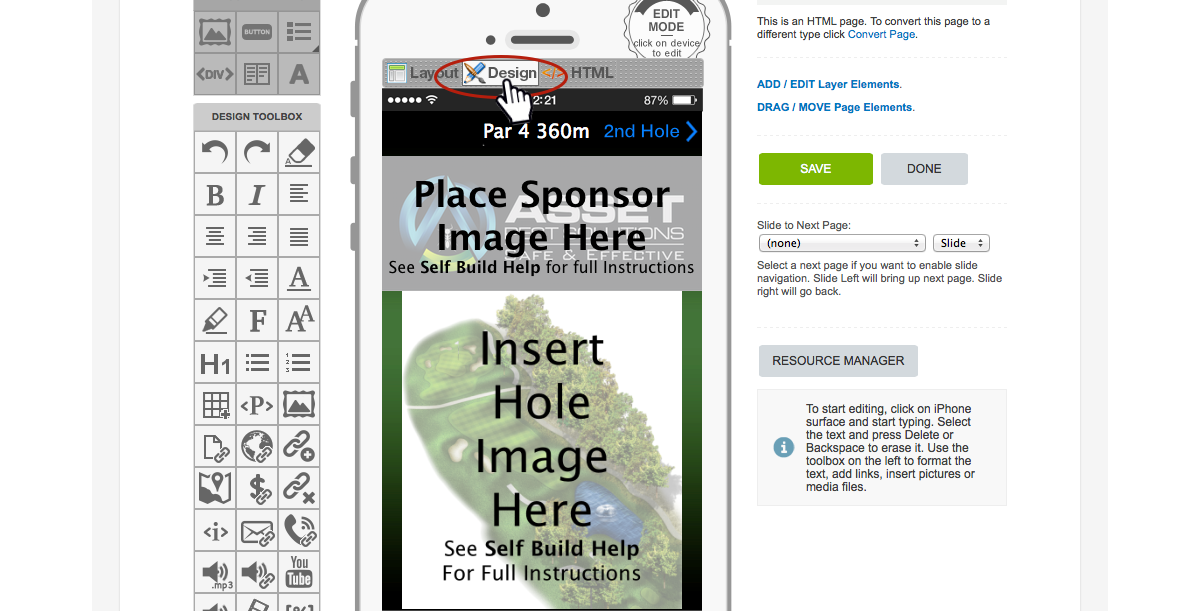
If you select 'Design' (at the top left of the Handset Display) instead of 'Layout' (per Step 6 above), you are able to edit other aspects of your App, including hole-specific information.
For full instructions on how to edit hole-specfic information, go to How to Edit Hole Information |
Step 8 |
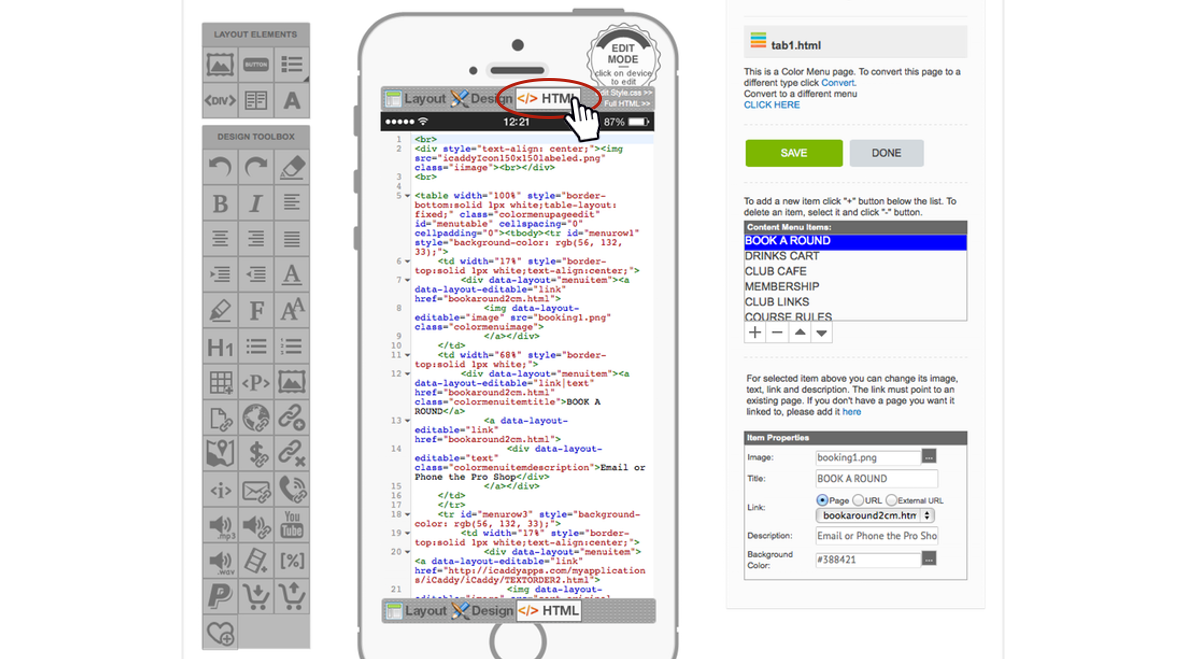
If you select 'HTML' (at the top left of the Handset Display) instead of 'Layout', or 'Design' (per Steps 6 or 7 above), you are able to directly edit the HTML code for your App, however this is for advanced users only. Unless you are familiar with HTML editing, it is strongly recommended that you do not use this feature. Please note that there no support tutorial is provided for HTML editing. |